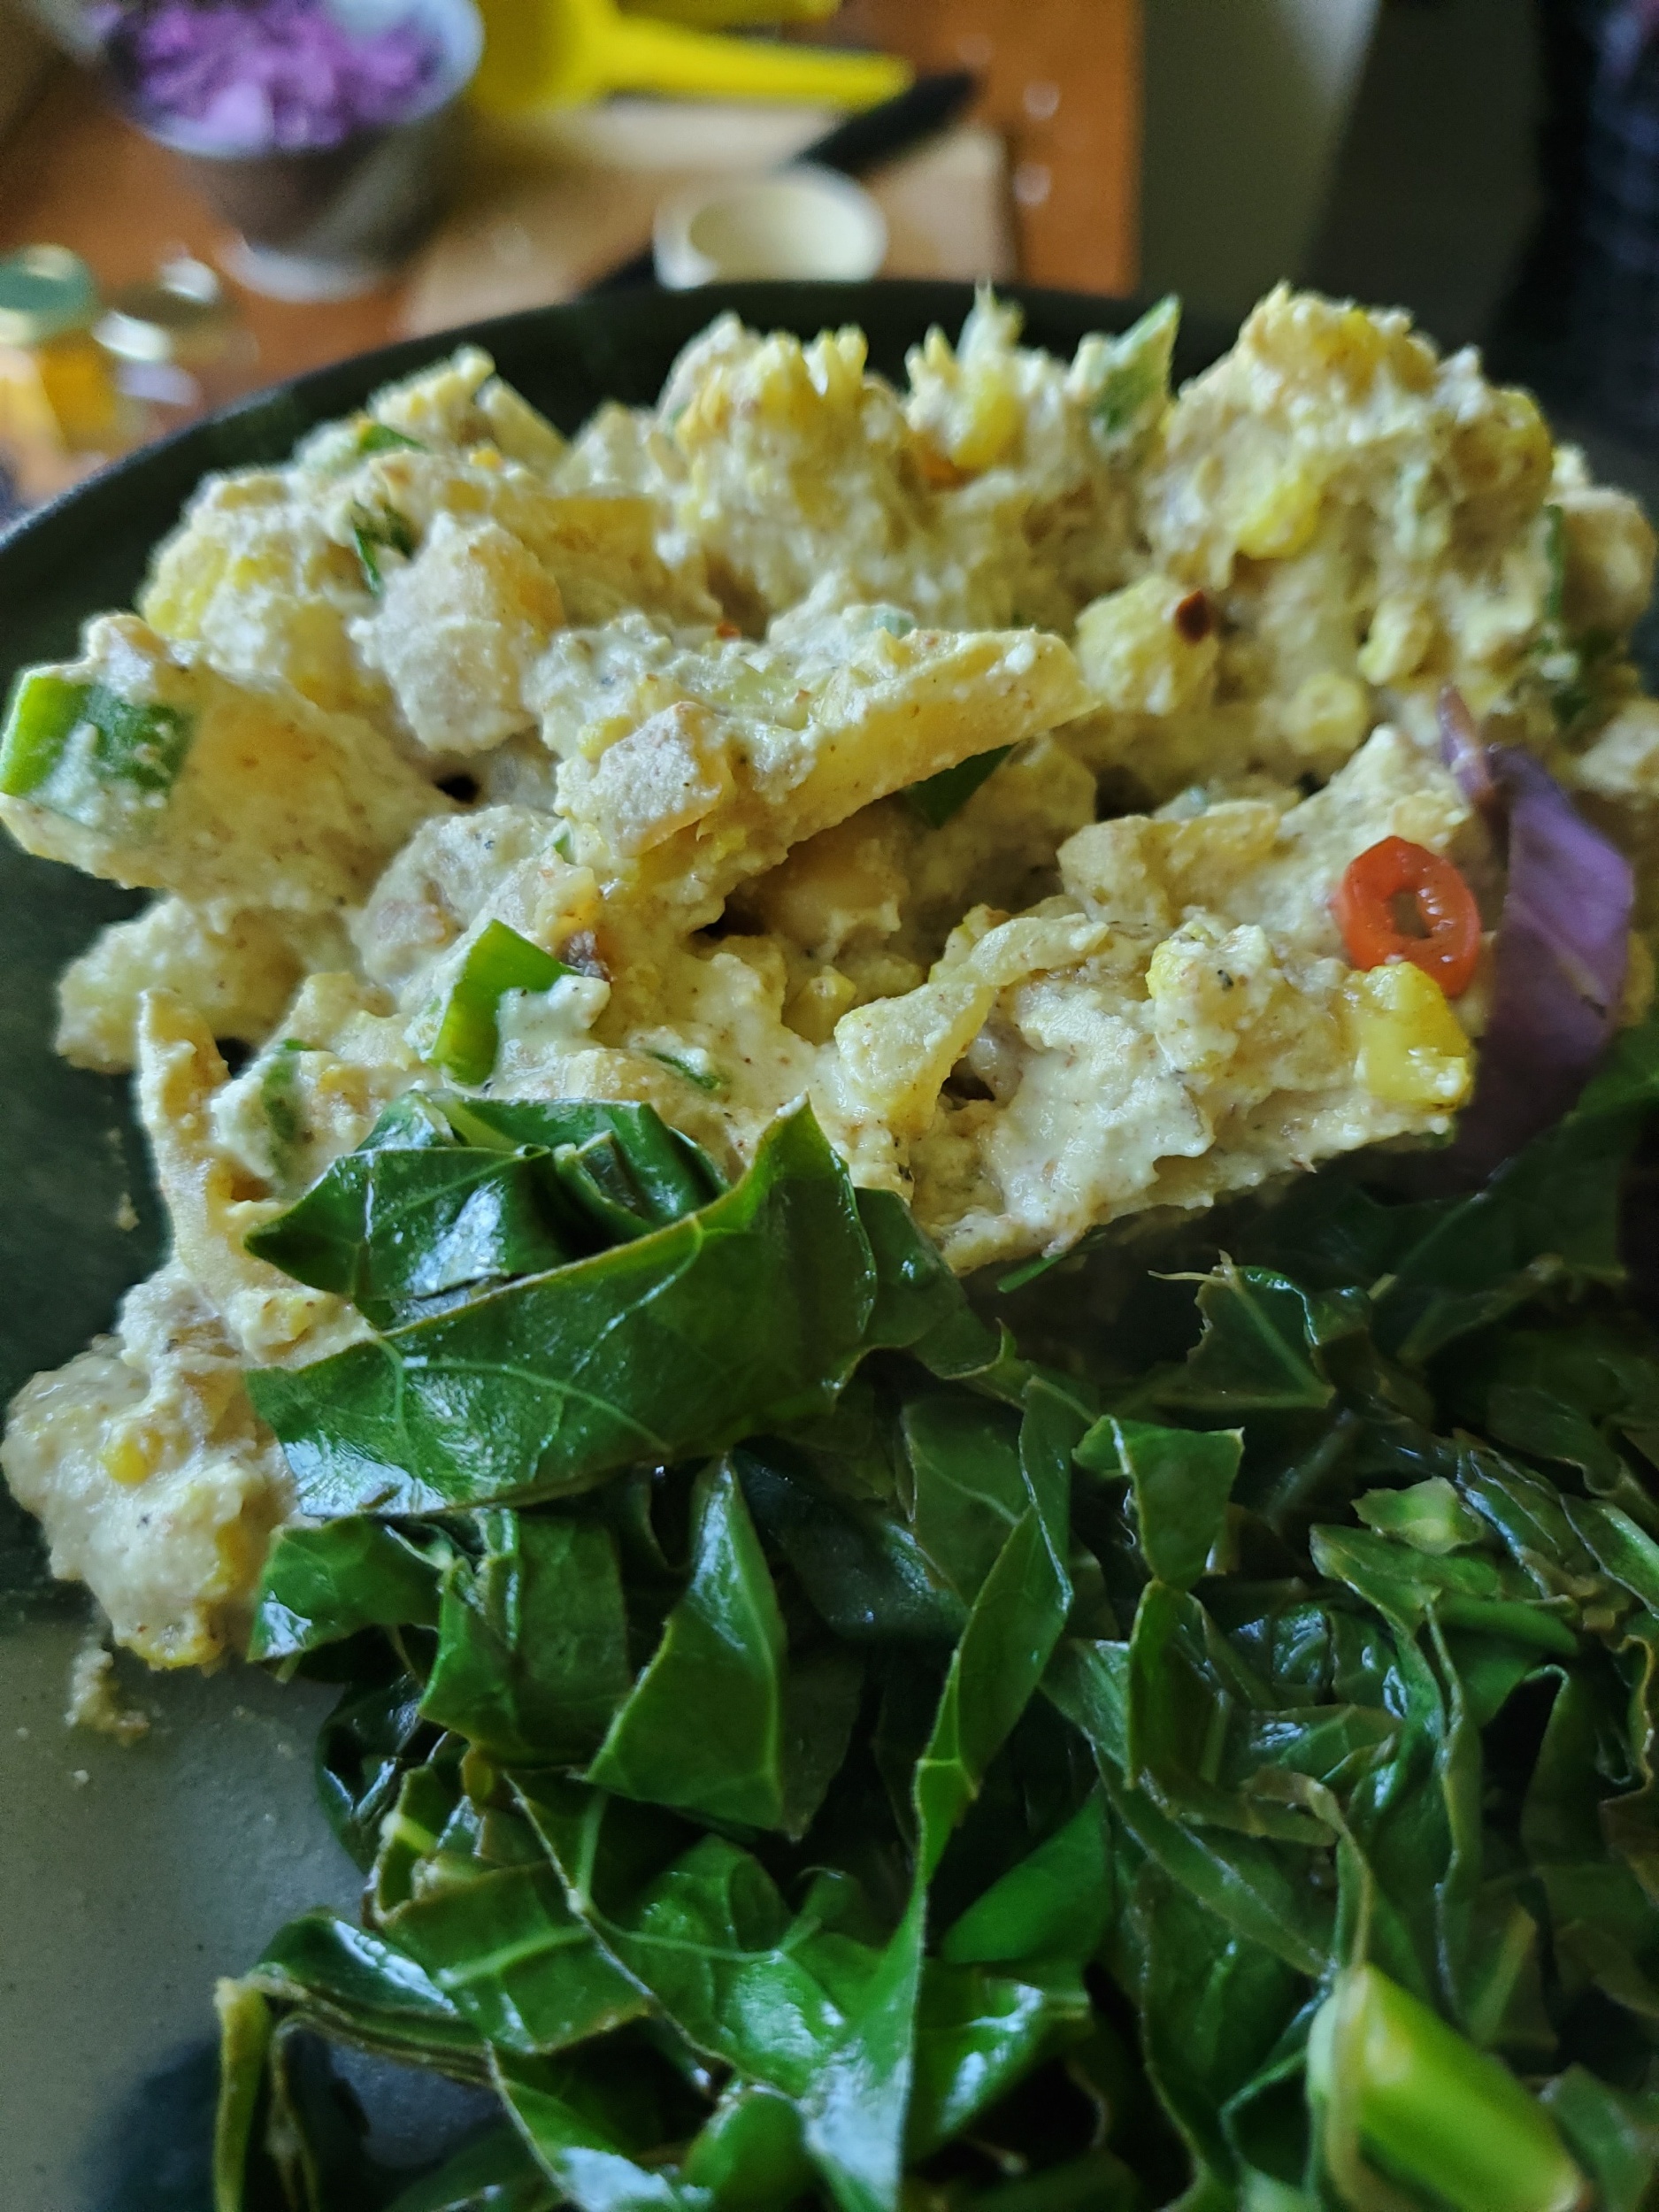
Potato Salad

This potato salad recipe is the foundation that Camille uses to start a potato salad. She then adds other ingredients based on what she has in the house. If you make it just as it’s written it is delicious just like that, and feel free to experiment and add more things in as feels good to you. They love it because it’s fast to make, delicious to eat, and can be mixed up to use up whatever you have on hand. You can also substitute some of the ingredients to match what you have available, for example if you don’t have the garlic aioli you can substitute mayo, or you can use other fresh herbs in lieu of dill.

Serves: 4 as a side

Time: 30 minutes

Ingredients

1.5 lbs waxy potatoes

salt

2 small dill pickles, or 1 large dill pickle

3 tbsp vegan garlic aoili

1 tsp minced raw onion (optional)

2 tbsp fresh dill, minced

1 scallion, minced

1/4 jalapeno, minced (optional)


Wash and chop the potatoes into small bite sized pieces. Boil them in very salty water (like the ocean) until they are tender. Strain and rinse. Slice the pickles into bite sized pieces and chop up the rest of the ingredients. Combine and Enjoy!

Taste for salt on this first bite. If you salt the water a lot you may not have to add any salt to this dish once you combine it. If it’s not salty enough, add salt. If it’s too salty, make some more but under-salt the second batch of potatoes. Alternately you can add in other un-salted ingredients like boiled potatoes or freshly chopped veggies (eg. celery, carrots, or minced cabbage) which will dilute the salt. The more you practice with salting water when you boil potatoes the better you will get at salting perfectly to your liking.

Creamy Gnocchi with Roasted Tomato and Basil

We have recently started using premade gnocchi in our kitchen. We really like having a quick cooking option to add gnocchi to a dish. This dish is one that feels fast to pull together while still feeling luxurious and delicious. We have access to Delallo brand gnocchi and we like it. They make a gluten-free version and a version with gluten. While neither version have dairy products in the ingredients list, the gluten-free version does have an allergy warning saying “May contain milk”.

Serves 4-6

Time 30 minutes

Ingredients

2 box of gnocchi (gluten-free option, dairy-free option)

1 pint cherry tomatoes

2 tbsp olive oil

a handful of basil leaves

for the sauce:

1 tbsp olive oil

1 cippolini onion

3/4 cup cashews soaked for at least 30 min

1 1/4 cup water

1/2 lemon, juiced

1/2 tbsp garlic granules

1/2 tsp salt

1 pinch of red pepper flakes


Cover the cashews with water to soak. Preheat the oven to 350 F. Put on a large pot of salty water to boil.

When the water boils, cook the gnocchi according to the instructions on the package. Meanwhile, rinse the tomatoes and put them on a sheet pan. Drizzle with 2 tbsp olive oil and then sprinkle with some salt. Put in the oven to roast until the skins pop open, about 12 minutes. Next, drain your soaked cashews and add them to a high powered blender with the water, lemon juice, and garlic granules. Blend until smooth. Finally, slice the onion thinly.

Once you have drained the gnocchi, put the remaining tbsp of olive oil in the pan and return to medium high heat. Put the onion in the pan and add some salt. Cook until the onion is soft and starting to brown, stirring constantly. Add the hot pepper flakes and stir in. Add the cashew alfredo sauce to the pan and stir until slightly thickened. Remove from heat.

Add the gnocchi and roasted tomatoes to the pot. The tomatoes will break down and mix with the creamy sauce. Garnish generously with torn basil leaves. Enjoy!


Cilantro Tomato Black Eyed Peas

Hi, Camille speaking here. I love black eyed peas because they are a bean that doesn’t need any soaking to cook from dry! It’s great when I haven’t planned ahead and still want a fairly quick meal (extremely quick if you have an Instant Pot) and still not too long if you are cooking on the stove. When I lived in Senegal, bean sandwiches was a common and delicious breakfast if you had enough money to afford it. This recipe is very similar to the sauced beans that I ate there and would be delicious served on a baguette. We also used them in our Last Chance Veggie Skillet.

Serves: 4 as a side

Time: 25 minutes

Ingredients

1 Can Black Eyed Peas or 3/4 cup dried black eyed peas

1/2 onion

olive oil

2 cloves garlic

1 tbsp tomato paste

1 tbsp oil from Mama Lil’s Peppers

salt

1 cup vegetable stock (or bouillon cube and water), gluten-free option, soy-free option

handful of cilantro


If you are using dry black eyed peas, cook them according to the instructions at the end of this recipe. If you are using canned black eyed peas then open the can and rinse the cooked peas.

Chop the onion so that the pieces are about the same size as the peas. Mince the garlic. Cook the onions on medium heat with olive oil until they begin to become transparent. Add the garlic for an additional minute. Add the hot pepper oil and tomato paste. Stir to coat the onions. Add the cooked beans and stock. Stir well. Bring to a boil and then turn down to a simmer and cook until it’s the consistency that you like, stirring regularly. Wilt the cilantro in. Stir and enjoy!

*Cooking black eyed peas from dry:

In the Instant Pot:

To cook in an Instant Pot, add 3/4 cup of dried black eyed peas to the pot.  Cover the beans with water (in the small Instant Pot this is about 6 cups of water), season with 1 tbsp kosher salt. Additionally if you happen to have the following add these as well: 1 tbsp cumin, 2 tsp garlic powder, and 1/8 tsp cayenne.  Set the Instant Pot to pressure cook for 6 minutes letting depressurize naturally.  Drain and rinse before adding to the dish.

On the stove:

If you don’t have an Instant Pot, you can easily black eyed peas from scratch with no planning. They are a bean that doesn’t need any soaking, yay! Put the black eyed peas in a pot with salty water. These will be cooking for about 45 minutes so you don’t want as much salt as you would use for pasta, but you do want to add enough that you can taste the salt. The best way to get good at this is to practice. Each time you salt the water, taste it and when the beans are done taste them to see if they are well salted. A well salted bean should taste flavorful but not salty. If it tastes like you are eating salt, you added too much. If the bean lacks flavor then you didn’t have enough salt.

Additionally if you happen to have the following add these as well: cumin, garlic powder, and a tiny amount of cayenne. 

Cook the peas until they are soft but not falling apart (this will take about 45 minutes).  We recommend checking the beans at 20 minutes and then every 10 minutes o cook until they are soft but not disintegrating. Make sure your pot has enough water as I have definitely cooked all the water off before and burnt the beans!

Hummus

If you have a food processor (or blender) this is both easy to make and usually much less expensive then buying it at a grocery store. Plus, you can add your own flavors/toppings to mix up the experience. Check out our suggestions for this below and we’d love to hear in the comments your favorite additions to a basic hummus recipe.

Serves: 4

Time: 10 minutes

Ingredients

3/4 cup dried chickpeas* or 1 can chickpeas

3 cloves garlic

1.5 tbsp lemon juice

2 tbsp olive oil

Water

2 tbsp tahini

1/2 tsp cumin

1/2 tsp Hot sauce or to taste

Pinch salt


If you are using dried beans, cook them*. Once you have cooked the beans, drain and rinse them. Add all the ingredients to a food processor (or blender) and process until smooth.

You can add all sorts of delicious things to this hummus, or keep it plain and top with something yummy. Some examples of things you can add to the hummus or top it with are pine nuts, fresh herbs, roasted red pepper, roasted garlic, harissa, or olives! Serve with bread, crackers, or fresh vegetables or use on a sandwich. Enjoy!


*Cook the chickpeas using an Instant Pot or on the stove. (If you are using canned chickpeas skip to step 2)

In the Instant Pot: Add 3/4 cup of dried chickpeas to the pot. Cover the beans with water (in the small Instant Pot this is about 6 cups of water), season with 1 tbsp kosher salt, 1 tbsp cumin, 1 tbsp garlic powder, and 1/4 tsp cayenne. Set the Instant Pot to pressure cook for 35 minutes letting depressurize naturally.

On the stove: If you don’t have an Instant Pot, you can easily cook chickpeas from scratch with a little planning. First you will need to soak the chickpeas which can be done one of two ways. 1. you can soak them overnight making sure they have enough water and space to double in size or 2. you can put them in a pot and bring to boil, then turn off the water and let soak for one hour. Again, make sure you have enough water and space that they can double in size. Once you have soaked your beans, rinse them and then put in a pot with salty water. These will be cooking for about 2 hours so you don’t want as much salt as you would use for pasta, but you do want to add enough that you can taste the salt in the water. The best way to get good at this is to practice. Each time you salt the water, taste it and when the beans are done taste them to see if they are well salted. A well salted bean should taste flavorful but not salty. If it tastes like you are eating salt, you added too much. If the bean lacks flavor then you didn’t have enough salt. For this recipe, also add 1 tbsp cumin, 1 tbsp garlic powder, and 1/4 tsp cayenne to the chickpeas as they cook. Cook the chickpeas until they are soft but not falling apart (this will take 1.5-2 hours). We recommend checking the beans at about an hour and then every 20 minutes until they are soft but not disintegrating. Make sure your pot has enough water as I have definitely cooked all the water off before and burnt the beans!

Spinach and Sausage Bowl

We’re happy to be celebrating a new year with a hearty bowl of greens and vegan sausage!

Serves: 4

Time: 30 minutes

Ingredients

1 1/2 cups white rice

vegetable bouillon (optional, gluten-free option, soy-free option))

2 tbsp high heat oil (like avocado)

1 package Beyond Meat Italian Sausage

1 onion

1 bell pepper

1 handful shitake mushrooms

2 large handfuls of spinach

3 tbsp white wine or rice vinegar

Salt

Pepper


Cook the rice according to package. We like to cook rice in vegetable stock or with vegetable bouillon and a pinch of salt for more flavor.

Slice the onion while heating a pan to medium high heat with the oil. Add the onion to the pan, stirring occasionally until softened. While the onions are cooking, slice the bell peppers and mushrooms and add them to the pan as well. Slice the sausages and add them to the pan as well. Season to taste with salt and pepper. Cook on med-high heat until the veggies are fully cooked and the sausages are browned. As things start to stick, add the white wine or rice vinegar. When everything is fully cooked, add the spinach and stir. Allow to cook until the spinach is wilted and bright green.

Serve over rice and enjoy!

Veggie Bean 'N Noodle Soup

The rains are starting here in the Pacific Northwest and we are enjoying cozying up with this warm, quick, veggie soup.

processed_20210914_132049.jpg
processed_20210914_132103.jpg

Serves: 4-6

Time: 30 minutes

Ingredients

1 tbsp tomato paste

3 cups seasoned white beans* (2 cans)

1 medium onion

3 carrots

4 cloves garlic

1 medium zucchini

dried oregano

dried thyme

pinch hot pepper flakes

14.5 oz diced tomatoes

4 cups vegetable broth, gluten-free option and soy-free option

14.5 oz water

1/2 lb pasta shells, gluten free option

4 large broccoli leaves (replace with chard if broccoli leaves are unavailable)

1/2 cup bean water


If you are cooking beans from dry, put them in Instant pot to cook (or cook these from scratch before you start your soup).

Heat a large pot of salty water (for cooking pasta). When this water comes to a boil, cook the pasta el dente (usually about 2 minutes less than the recommended cook time). Drain and rinse with cold water until fully cooled down to prevent clumping.

Heat oil in a large soup pot. Cut the onions and carrots and cook over medium high heat until onions are soft, about 10 minutes, stirring frequently. While these are cooking, cut the garlic and zucchini. Add the garlic and zucchini to the pot and cook for an additional 4 minutes. Add the oregano, thyme, hot pepper flakes, and tomato paste. Stir to coat, cooking for about 1 minute. Add the diced tomatoes, vegetable broth and the water. Bring to a boil and then reduce to a simmer.

Cut the greens into ribbons. Add the cooked pasta, beans, and greens to soup and simmer for a final 5 minutes. Add salt to taste. If you like, instead of using salt you can use bean water (if you cooked the beans from scratch) or vegetable bouillon paste. Serve and Enjoy!

*Cooking white beans from dry:

In the Instant Pot:

To cook the white beans in an Instant Pot, add 1 1/3 cups of dried white beans to the pot.  Cover the beans with water (in the small Instant Pot this is about 6 cups of water), season with 1 1/2 tbsp kosher salt, 2 cloves garlic, 1 tbsp cumin, a sprig of rosemary, and 1/8 tsp cayenne.  Set the Instant Pot to pressure cook for 28 minutes letting depressurize naturally. Drain and rinse, reserving 1/2 cup of the liquid, before adding to the dish.

On the stove:

If you don’t have an Instant Pot, you can easily cook white beans from scratch with a little planning. First you will need to soak the beans which can be done one of two ways. 1. you can soak them overnight making sure they have enough water and space to double in size or 2. you can put them in a pot and bring to boil, then turn off the water and let soak for one hour. Again, make sure you have enough water and space that they can double in size.

Once you have soaked your beans, rinse them and then put in a pot with salty water. These will be cooking for about 2 hours so you don’t want as much salt as you would use for pasta, but you do want to add enough that you can taste the salt. The best way to get good at this is to practice. Each time you salt the water, taste it and when the beans are done taste them to see if they are well salted. A well salted bean should taste flavorful but not salty. If it tastes like you are eating salt, you added too much. If the bean lacks flavor then you didn’t have enough salt.

For this recipe, also add 1 1/2 tbsp kosher salt, 2 cloves garlic, 1 tbsp cumin, a sprig of rosemary, and 1/8 tsp cayenne to the white beans as they cook. Cook the beans until they are soft but not falling apart (this will take 1.5-2 hours).  We recommend checking the beans at about an hour and then every 20 minutes until they are soft but not disintegrating. Drain and rinse, reserving 1/2 cup of the liquid, before adding to the dish.

Make sure your pot has enough water as I have definitely cooked all the water off before and burnt the beans! This may seem like a lot of work, however once you get the hang of it the work is almost all passive and the reward is high: beans cooked from scratch taste much better and are much cheaper! 

Backpacking Food

I (Camille) went on my first backpacking trip last week! It was amazing to spend four days by a lake, swimming, watching fish jump, and filtering my water from cold mountain streams. The best part of the trip: being full on delicious food the whole time! I’m going to list here some of my favorite (and least favorite) meals that I tried.

I also realized in the process that next time I fly on a plane or travel to a place that is less vegan/gf friendly I can bring this food with me and won’t have to worry about not having access to a kitchen or restaurant where I can eat. In airports or cities you can go to any coffee shop and get boiling water to re-hydrate these meals. Also, lots of these meals only need cold water so that’s even easier.

As I write this, I’m living through a heat wave in the Pacific Northwest and enjoying eating some of these backpack foods so that I don’t have to turn on the stove and add to the heat in the house.

For this post I’m going to focus on meal-like foods although I stocked up on granola bars and chips as well, however that will have to be another post!

Eating 1.JPG
Eating 2.JPG

Outdoor Herbivore: love this company! While I sometimes struggle to navigate their website, their food is both scrumptious and feels good inside my body. Lots of great veggie options that remind me of the food I eat at home and make me feel like I could spend weeks on the trail.

Pacific Northwest.JPG

Favorites

Sunrise Tofu Scramble - salty deliciousness. Note: I love salt and this is the perfect amount for me - if you aren’t a salt lover this might be too salty for you.

Hop Pea Slop - I’m so in love with this creamy crunchy veggie salad - this is probably my favorite thing by Outdoor Herbivore.

Open Sky Yasai - such good veggie yumminess. Would go GREAT in Ramen.

Naked Freckle Burrito - so good, medium spicy (perfect for me) and very beany. Ate with corn chips and that was delightful!

Instant Hummus - medium spicy very flavorful hummus.

Did not Love

Lemongrass Thai Curry — If you love spice you will love this, however for me it was too spicy to even finish.

Maya Kamal Everyday Chana and Everyday Dal: Pre-made food that needs to be re-heated (when we ran out of cooking fuel I ate them cold and that was delicious as well!)

Right Rice: *This brand uses some pretty heavy food moralizing claiming that rice made from beans and vegetables is more ‘right’ than rice. The centering of thin white beauty standards and attempting to label rice (a staple product eaten all over the world, and integral to many food cultures) as ‘wrong’ is deeply disturbing. It is also about twice as expensive as pre-made rice. Labeling this more expensive product as the correct or superior option is another way that, as a society, we label people with less money as morally inferior.* I choose to eat their product because de-hydrated rice-substitute made of beans and veggies feels good in my body. I want to share this as an option for folks who are looking for different tasty food options and am mindful that this product has very harmful packaging and ethos.

Tasty Bites: We really enjoy their brown rice and have yet to try their other products.

Miracle Noodle Pad Thai: *The amount of food moralizing on this package stresses my body out, so adding a trigger warning for diet culture.* I did enjoy the flavor and texture of this pre-made ‘pad thai’ it was a low to medium spice level and good both cold and hot. I needed two packages for 1 serving.

Wild Mushroom Artichoke Heart Pasta

This recipe was inspired from Purple Carrot. We love how easy it is to keep most of the ingredients in the house (canned artichokes shelf stable, pasta shelf stable). Then when we need something quick and easy we pick up some local mushrooms and voila, a fancy hassle free meal!

We often like to double this recipe so that we have leftovers in the fridge to snack on during the week. Because artichokes and mushrooms are expensive, this can be more of an upfront cost which is why we are sharing the smaller portion size. Just know if you love it, it is great doubled!

Camille is gluten free and likes to eat this with Banza chickpea pasta. This pasta, made from chickpea flour, has so much protein that they often will leave out the crispy chickpeas entirely. That means both one less step to this quick and easy meal!

processed_20210309_125411.jpg

Serves: 2-3

Time: 30 minutes

Ingredients

For the chickpeas:

3/4 cups cooked chickpeas (1/2 can) optional

1/2 tbsp olive oil

1/2 tsp garlic powder

1/2 tsp

pinch of cayenne

1/2 lb pasta (gluten-free option)

olive oil

1 can artichoke hearts

1/3 lb local mushrooms (shittake, trumpet, chestnut, and oyster, all work really well)

freshly ground pepper

1 1/2 tbsp nutritional yeast

1 tsp garlic powder

1 1/2 tbsp vegan butter (soy-free option, nut-free option)

1/2 tbsp lemon juice

pinch hot pepper flakes

salt to taste


Drain and rinse the chickpeas. Pre-heat oven to 350 F. Toss the chickpeas with olive oil salt, garlic powder, and cayenne. Spread them out on a baking sheet. Roast in the oven, stirring every 15 minutes until the rest of the meal is done or they turn golden brown. If you are using a can of chickpeas feel free to use the entire can and then snack on the chickpea nuts you don’t add to the pasta!

Boil salty water (water should be as salty as the ocean) and cook the pasta according to instructions.

Slice the mushrooms. Cook them about 10 minutes on med-high heat with oil, stirring frequently until they brown and have an almost crispy texture. In last 2 minutes grind some fresh pepper over top of them. Remove from heat and set the mushrooms aside.

Drain and rinse artichoke hearts. Put olive oil in the pan and fry. Allow the artichoke hearts to sit on one side until brown and then flip on other side until they brown. They are fully cooked in the can, you are just browning them.

Mix the cooked pasta and butter until the butter melts. Add 3 tbsp of olive oil. Add all the other ingredients and stir to combine.

Enjoy!

processed_20210309_125356.jpg

The Best Vegan Burger

Black Seeded Cult Burger is one of Camille’s favorite restaurants and this burger is an homage to what they do so beautifully!

IMG-0307.JPG
IMG-0309.jpg

Serves: 2

Time: 30 minutes

Ingredients

2 hamburger buns (gluten-free option, vegan option)

2 Beyond Burger or Lightlife Burger patties

8 bread and butter pickles

4 pieces romaine lettuce

1 very small onion or 1/2 of a medium onion

olive oil

2 tbsp white wine (optional)

ketchup

For the dill aioli:

1/2 cup vegan mayo (soy-free option)

1 1/2 tsps of lemon juice

1 tbsp dried dill


Slice the onions and heat a frying pan to medium high with olive oil. Add the onions and cook stirring consistently for about 15 minutes. When the onions are fairly caramelized, if you are using wine, add the white wine and continue to stir until the wine disappears (about 2 minutes).

Remove the onions, scrape the pan clean and leave the heat on. You do not need to add extra oil as the burger patties have oil in them. Add the burger patties to the pan and cook according to package instructions. Meanwhile, toast the burger buns. While this is happening, mix the aioli ingredients together and set aside.

To assemble, spread aioli on both pieces of the hamburger bun. Next add the burger patty, some caramelized onions, pickles, some extra aioli, ketchup, and romaine lettuce. Close up your burger sandwich and enjoy!

Frozen Foods

Our intention with this blog is to share the food that we eat regularly. Posting our recipes online serve as a recipe box where we can easily find things we want to make again and we can share our creative selves with our family, friends, and friends we have not met yet. While this post isn’t a recipe of food from scratch, we do want to share some of our favorite frozen foods. In doing so, we want to normalize eating frozen food as well as give recommendations for allergy friendly frozen foods.

One of the stories that we soaked in from society is that there is ‘good’ food and ‘junk’ food. The terms ‘plant based’, ‘fresh’, and ‘natural’ are often used to mean ‘good’. At the same time, anything that has been ‘processed’, has sugar in it, or has been demonized in the diet de-jour is called ‘junk’ food. There is also a strong connection between foods that are labeled ‘junk’ and foods that are readily available and more accessible. Knowing this, what does it mean when we conflate a person’s value with the foods they eat?

It has been incredibly healing for us to learn that food is actually morally neutral. Although we tried for many years, it turned out we were never able to eat our way into being ‘good’. Reducing food to its nutritional ‘value’ and demonizing food that doesn’t meet the diet-culture rules of the moment strips it of all of the other ways that food can nourish us.

One of our dear friends and amazing community organizer Dan Lynn (DoBetterConsulting) talks about paying attention to what your body is wanting in this very concrete way: What textures would bring you pleasure? Do you want cold foods or hot foods? Do you want something sweet, salty, sour, savory? Having access to different foods that bring us pleasure and keeping them on hand has been so useful to us in learning how to trust and befriend our bodies. Today we will talk about 3 frozen foods that Anne likes to keep in their freezer.

processed_20200719_195753.jpg

First up are ‘potato puffs’ (a food definitely not commonly referred to as tater tots as this is a trademark of Ore-Ida). I especially enjoy Alexia brand potato products. These Alexia brand ‘Yukon Select Puffs’ contain “organic potatoes, organic vegetable oil (canola, sunflower, safflower), sea salt, organic cornflower, organic dehydrated potato, organic apple juice concentrate” (as of 10/2/2020). These are currently gluten-free, nut-free, soy-free, and vegan, however Alexia brand recommends checking the ingredients each time you purchase their product as the ingredient list indicates the current contents and they may change. Many brands make a ‘potato puff’ product similar to these, however if you think you will be serving these to folks with allergies we recommend checking the ingredients closely as many seasonings include wheat and dairy. Alexia brand’s particular preparation of potatoes reminds me of the frozen hash-browns my father would keep around when they were on sale. They were soft on the inside and crisp on the outside, and honestly, I love potatoes anyway they are prepared.

My recent favorite is tossing these ‘puffs’ in creole seasoning when they are fresh and hot out of the oven. Creole seasoning is available from many spice brands or there are a bunch of recipes to make it yourself on the internet. I like to make it myself because I can control the spice level and allergen exposure. I haven’t tried them tossed in our ranch powder yet, but I look forward to that adventure!

processed_20200719_190737.jpg
processed_20200723_134436.jpg

The next frozen food I love is these frozen samosas. You might notice a potato trend here, but what can I say? Potatoes are amazing. Samosas are a food that I have tried to make from scratch but mine didn’t turn out well and I didn’t enjoy the experience of frying them. When it comes to foods that are traditionally deep fried, I often feel this way. These samosas have a crisp pastry outside and a generous filling of spiced potatoes and peas. The chutney that comes with them tastes bright and herbaceous. I am a big fan of eating at Indian restaurants, and, for me, this is the next best thing. This brand of frozen samosas has the following ingredients (as of 10/2/2020): Potatoes, Wheat Flour, Water, Sunflower Oil, Green Peas, Vegetable Oil (contains one or more of the following: sesame oil, soya bean oil, palm oil), Spices, Salt, Green Chillies, Coriander Leaves CHUTNEY: Water, Mint Leaves, Sugar, Dates, Tamarind, Coriander Leaves, Green Chilies, Salt, Spices.

processed_20200723_142056.jpg
processed_20200809_130402.jpg

Feel Good Foods makes several varieties of potstickers which are all gluten free! I love the vegetable ones which are also vegan, the ingredients as of 10/2/2020 are: cabbage, water, rice flour, onions, tapioca starch, carrots, vermicelli (potato starch, mung bean starch, and water), canola oil, corn starch, scallion, sesame oil, mushrooms, salt, cane sugar, konjac flour, xantham gum, ginger, yeast extract, black pepper. The dipping sauce contains: tamari soy sauce (water, soybeans, salt, sugar), sugar, distilled vinegar, garlic puree, ginger puree, citric acid, and spice. When I cook these, I mostly follow the instructions on the box however tweak them a little bit: I like to steam the dumplings for just 10 minutes and then take the lid off for the last 2 minutes so they start to get a crust on them instead of being soft all the way through.

I like these potstickers because they have a variety of flavors and textures going on. The filling is umami and the dipping sauce has a salty sweet flavor. The wrappers, where steamed, have a delightful chewiness to them and on the bottoms they are crispy and delicious.

We want to acknowledge that the branding on this box contains food moralizing that makes us uncomfortable. Food is not good or bad, and you cannot become a good or bad person by eating certain types of food. If this doesn’t make sense to you, we’d love you to sit with the question “who profits from you believing that you need to eat certain foods in order to be good”?

processed_20200809_132557.jpg

Harissa Tofu Harvest Plate

This dish was inspired by a Purple Carrot recipe. We love how fast it is to prepare and how the harissa tofu pairs with sweet potato fries. Here we’ve given the recipe to make your own sweet potato fries, however we equally love frozen sweet potato fries and cooking them for this meal. If you go that route, the meal takes about 30 minutes instead of 1 hr. Feel free to substitute whatever veggies you have in your fridge. When we cooked this we happened to have some tomatoes and greens from the garden, but it tastes equally good without these.

Harissa Tofu Harvest Plate

serves: 4

cooking time: 1hr 5min (15min is active)

Ingredients

for the tofu:

1 block tofu

1/2 cup cornstarch

1/2 tsp salt

3 tbsp harissa

2 tbsp lemon juice

1 tbsp agave (option to substitute coconut nectar, maple syrup, or other liquid sweeteners)

Pinch salt

for the sweet potatoes:

2 small sweet potatoes (about 1 1/2 lbs), cut into wedges (we used white sweet potatoes)

1 1/2 tsp olive oil

1/2 tsp salt

1/2 tsp cumin

for the sides:

1 bunch swiss chard, thinly sliced

2 cloves garlic, minced

1 batch of roasted Brussels sprouts

fresh sliced tomato (optional)

salt

pepper


Pre-heat oven to 375 F. Roast brussels sprouts according to recipe. Cut sweet potato into wedges. In a large bowl, toss wedges with olive oil, salt, and cumin. Lay out on a lined baking pan (we use Silpat liners) and roast sweet potato wedges about one hour flipping them over after half an hour. They should be soft on the inside and have a little bit of browning on the outside. If you don’t know how hot your oven runs, check on the wedges more frequently to make sure they don’t burn.

Cut your block of tofu in half so that you have two, one inch thick rectangles. Press tofu between two kitchen towels, placing a cast iron pan, or something heavy on them to remove some of the liquid. This process can be done with a tofu press. Cut the tofu into sticks about 3 inches by one inch by one inch. Put the cornstarch and 1/2 tsp salt in a shallow bowl. Toss the tofu, a couple of pieces at a time in the cornstarch mixture until coated on all sides. Heat 2 tbsp of neutral oil in a frying pan. Once hot, fry the tofu in batches on med-high making sure it gets golden brown on all sides. Feel free to add more oil if your pan gets dry. Be careful not to crowd the tofu as that will make it all stick together. We use tongs to turn each piece separately. Mix the harissa, agave, pinch of salt, and lemon juice in a small bowl. Once the tofu is crispy, add harissa sauce to the pan, stir to coat the tofu, and remove from heat.

To cook the chard, add one tablespoon oil to a shallow pan. Add the minced garlic and sauté until fragrant, about one minute. You do not want the garlic to brown. Add the thinly sliced chard and toss with the oil until wilted, about two or three minutes.

If you have a tomato, slice it and sprinkle with salt. Plate and enjoy!

processed_20191007_125841.jpg

Swiss chard, mushroom, & tofu bowl with toasted cashews

This dish was inspired by the food that Camille had in her fridge. At the time, she had 4 mushrooms, so that is what she used. If you have more, it’s really good with about 2 cups of sliced mushrooms and I’m sure it would be good with anywhere in between. We’ve enjoyed it with both cremini and oyster mushrooms and would bet it would also taste good with shiitake mushrooms and chestnut mushrooms.

Also, we realize that yesterday was Indigenous People’s Day. If you’re interested in why we feel so called ‘Columbus Day’ should be changed federally to Indigenous People’s Day check out this beautiful episode from the All My Relations Podcast.

processed_20200705_200304.jpg

Serves: 4

Time: 30 minutes

Ingredients

For the greens:

1 bunch Swiss chard, de-stemmed and thinly sliced

some mushrooms (see intro)

salt

1/4 tsp pepper

2 tbsp olive oil

2 tbsp coconut aminos

1 tsp pomegranate molasses (optional)

For the tofu:

1 block tofu

1/4 cup sesame oil

1 tsp salt

1/4 cup nutritional yeast

For the rice:

1 cup sushi rice

2 cups slightly salted water

1 tsp rice or champagne vinegar

1/2 tsp sugar

For the garnish:

1/4 cup cashews, toasted

1/2 bunch thinly sliced green onion


Slice the mushrooms and sautee until golden brown with salt and pepper. Taste to make sure these are seasoned to your preference. While they are cooking, de-stem the chard and slice into small ribbons. When the mushrooms are fully cooked, add the swiss chard, pomegranate molasses, a bit of salt, and coconut aminos. Cook 1 minute until the chard is shiny and soft but not yet browning.

Cook the sushi rice in salted water until done. You want to add some salt, but since you won’t be draining the rice it shouldn’t be as salty as sea water. We used about 1/2 tsp salt, but this will depend on the type of salt you are using. Once it is cooked, add all the other ingredients to the rice and fluff with a fork.

Slice the tofu into 1 inch squares. Heat the sesame oil in a pan, once hot add the tofu. Cook undisturbed on one side until golden brown. Salt and flip. Cook until crispy on the second side and then pour all the nutritional yeast in the pan and stir to coat.

Toast the cashews if they are raw and slice the green onions.

To serve, assemble rice on the bottom, then tofu, then greens. Top with toasted cashews and green onion and enjoy!

processed_20200705_200307.jpg

Curried Chickpea Salad

We’re grieving the loss of summer potlucks, picnics, and days at the beach with friends. Normally we would bring this chickpea salad, a bag of local cherries, and some chips to the river and just relax all day. With COVID, we’ve been traveling less but we still enjoy eating this delicious salad. I like to toast bread, cover it with mayo and then add this salad for a chickpea salad sandwich!

IMG-0069.JPG

Serves: 4 as side

Time: 20 minutes + chickpea cooking time

Ingredients

3/4 cup halved red grapes

2 cans chickpeas (1 1/3 cup dry*)

for the sauce:

1/2 med onion (1 cup) chopped

2 tbsp cooking oil

1 1/2 tsp curry powder

1/4 cup vegan mayo (soy-free option)

1/2 tsp salt

juice of 1/2 lemon (2 tbsp lemon juice)


IMG-0070.JPG

Slice grapes in half and chop the onion. Saute the onion in oil until it’s starting to be translucent, about 10 minutes.

While the onion is cooking, mash the chickpeas in a medium bowl. When mashing, the texture is important. You are looking to crush the chickpeas into a meaty texture but you do not want to over-mash as you could end up with hummus! Toss the chickpeas with the lemon juice and salt and set aside.

Once the onions are translucent, add the curry powder, stir for an additional minute and then remove from heat. In the pan you cooked the onions in, add the mayo, stirring to combine. Pour sauce into mashed chickpeas and stir to coat. Fold in the grapes and enjoy!

*Cooking Chickpeas from dry:

In the Instant Pot:

To cook the chickpeas, in an Instant Pot, add 1 1/3 cup of dried chickpeas to the pot.  Cover the beans with water (in the small Instant Pot this is about 6 cups of water), season with 1 tbsp kosher salt, 1 tsp turmeric, 1/2 tsp ground ginger, and 1/8 tsp cayenne.  Set the Instant Pot to pressure cook for 35 minutes letting depressurize naturally. Drain and rinse before adding to the dish.

On the stove:

If you don’t have an Instant Pot, you can easily cook chickpeas from scratch with a little planning. First you will need to soak the chickpeas which can be done one of two ways. 1. you can soak them overnight making sure they have enough water and space to double in size or 2. you can put them in a pot and bring to boil, then turn off the water and let soak for one hour. Again, make sure you have enough water and space that they can double in size.

Once you have soaked your beans, rinse them and then put in a pot with salty water. These will be cooking for about 2 hours so you don’t want as much salt as you would use for pasta, but you do want to add enough that you can taste the salt. The best way to get good at this is to practice. Each time you salt the water, taste it and when the beans are done taste them to see if they are well salted. A well salted bean should taste flavorful but not salty. If it tastes like you are eating salt, you added too much. If the bean lacks flavor then you didn’t have enough salt.

For this recipe, also add 1 tsp turmeric, 1/2 tsp ground ginger, and 1/8 tsp cayenne to the chickpeas as they cook. Cook the chickpeas until they are soft but not falling apart (this will take 1.5-2 hours).  We recommend checking the beans at about an hour and then every 20 minutes until they are soft but not disintegration. Make sure your pot has enough water as I have definitely cooked all the water off before and burnt the beans! This may seem like a lot of work, however once you get the hang of it the work is almost all passive and the reward is high: chickpeas cooked from scratch taste much better and are much cheaper!
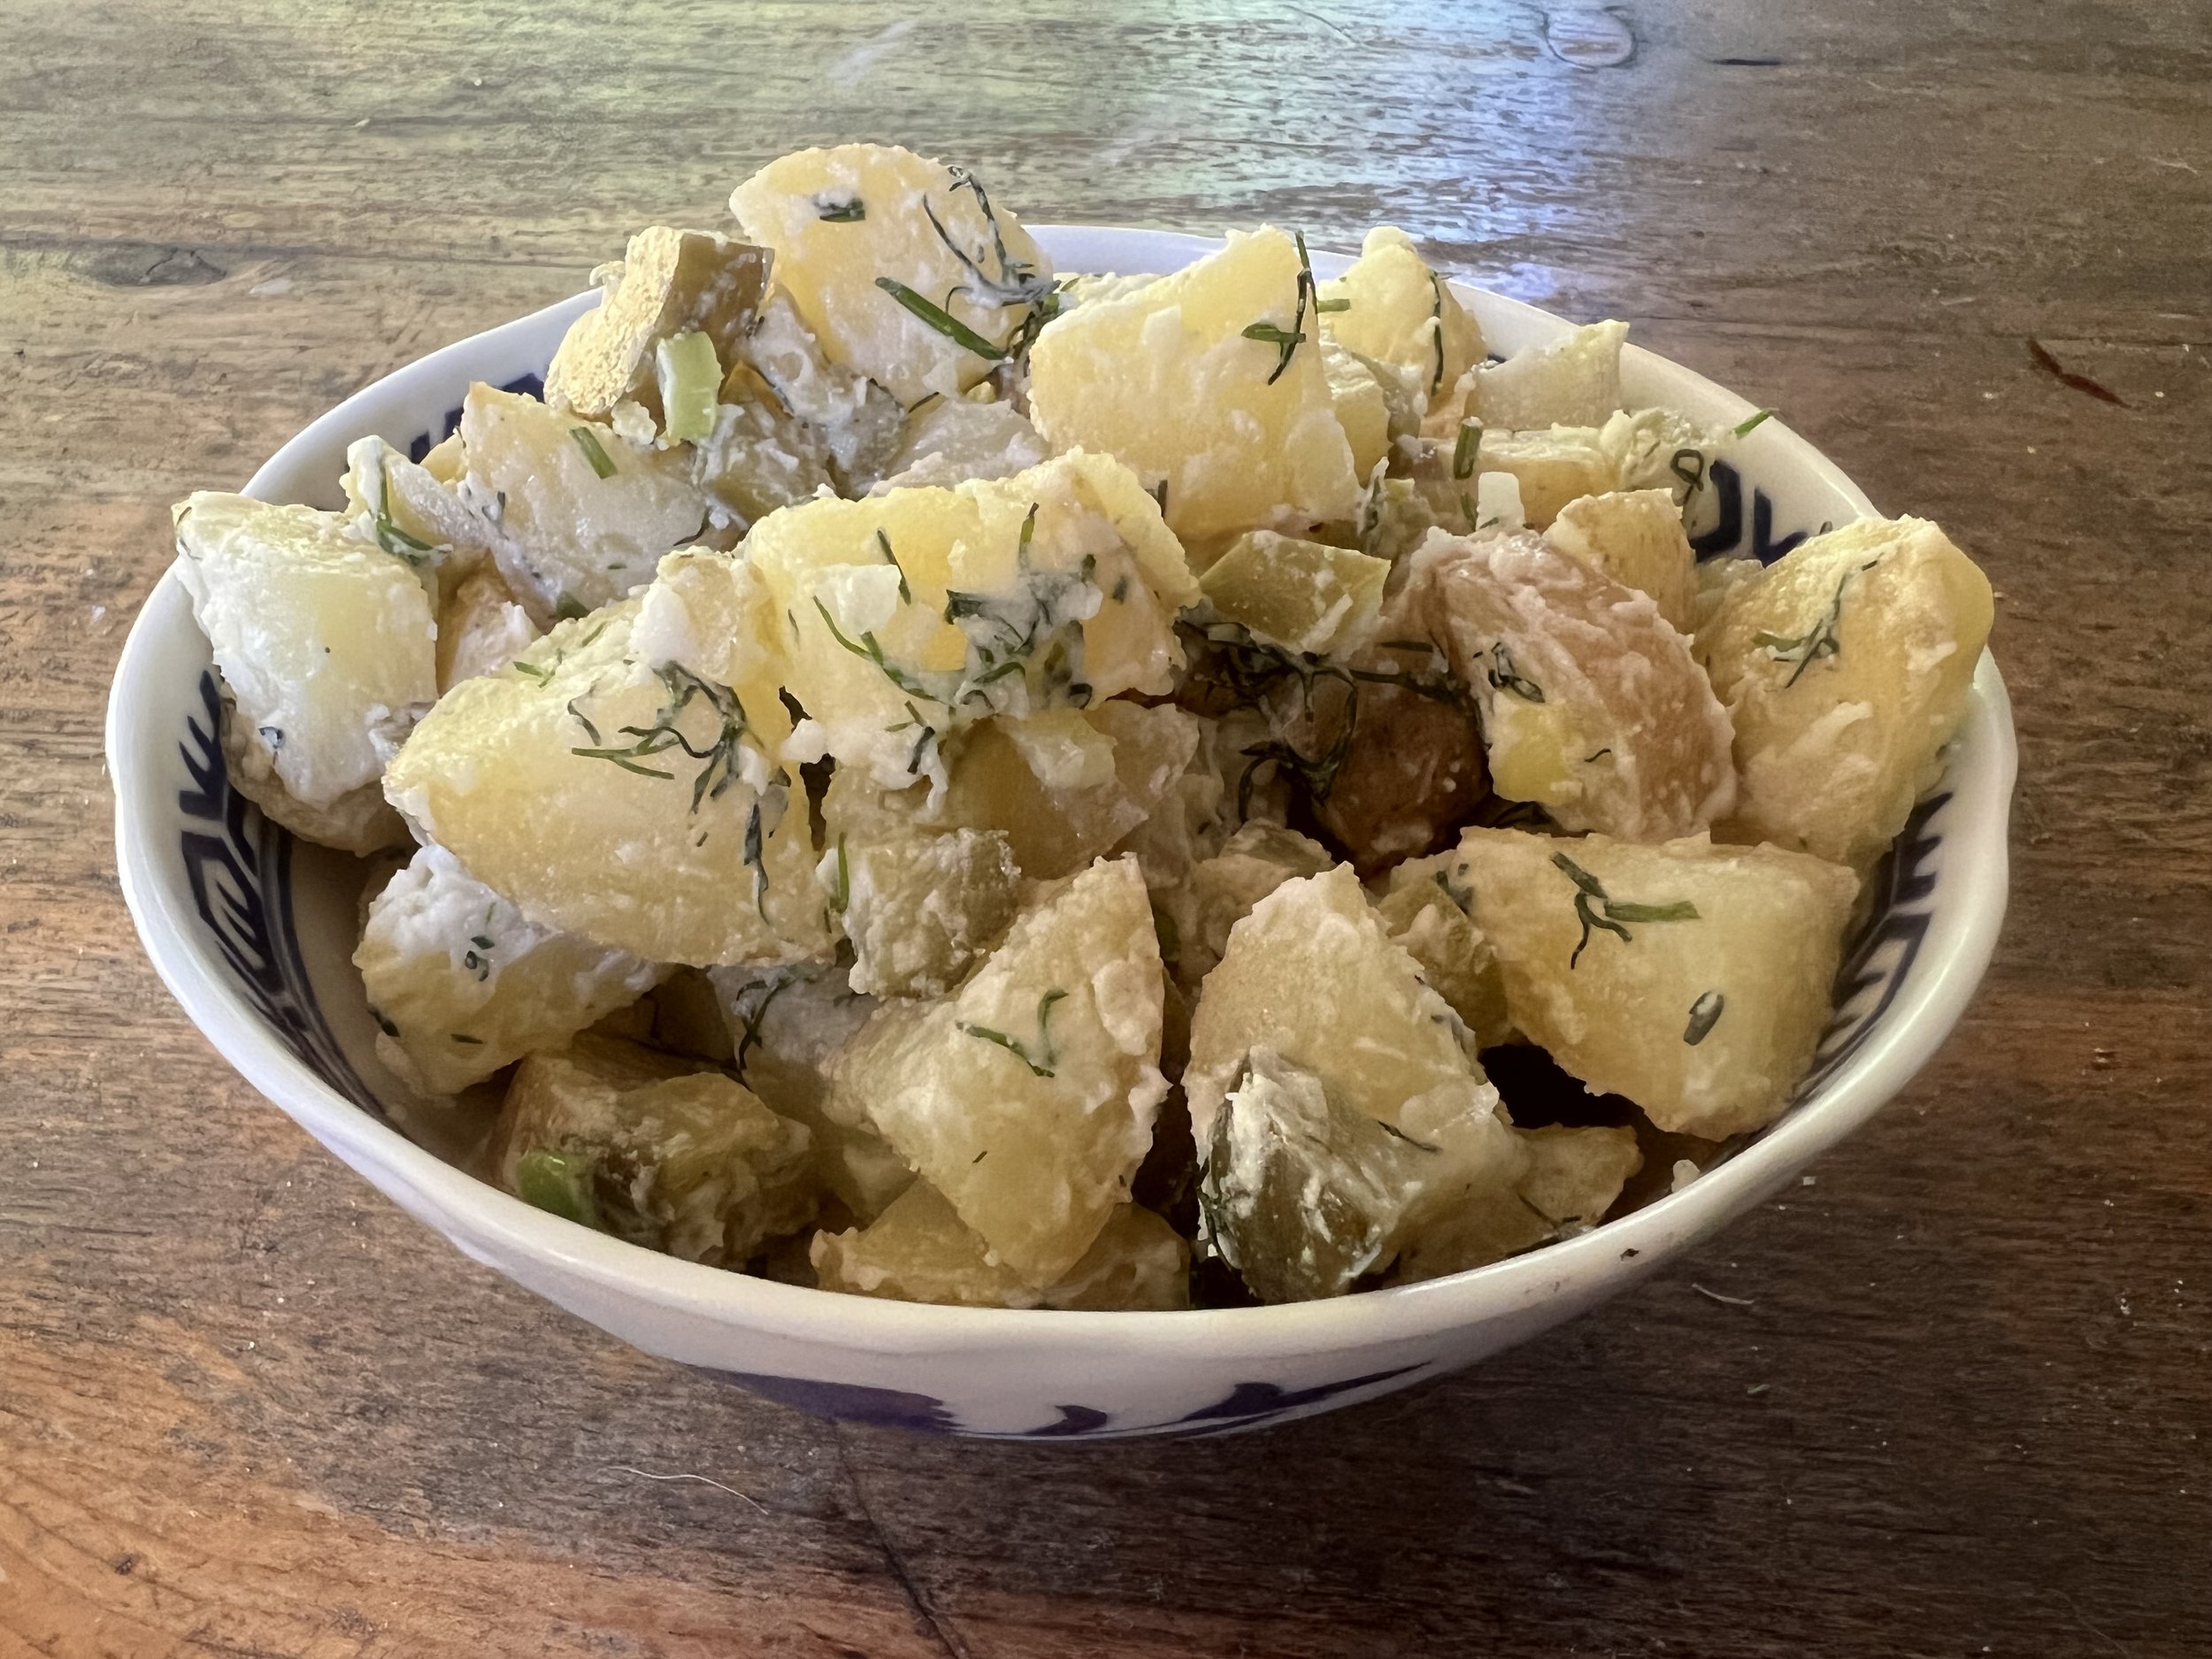
Bash's Cauli N' Cheese

We’re in love with this quick and easy cheesy recipe that our friend Bash taught us to make. It goes great with stir fried vegetables, and can also be delicious as a stand alone dish.

Bash's Cauli N' Cheese

Serves: 4

Time: 30 min

Ingredients

2 T olive oil

1 med size head of cauliflower, diced

1/2 large onion, diced

3 cups cooked chickpeas* (2 cans)

1/2 to 1 tsp salt, according to taste

1/4 tsp garlic powder

1/4 tsp turmeric

1/8 tsp red pepper flakes

2 cups of cashew cheese

green onion, sliced for garnish


Cook onions on medium low heat until they start to brown about 7 min. Add cauliflower and cook for another 10min. Add chickpeas and remaining seasoning, cook until the cauliflower is soft and starting to brown and get crispy (another 20min). Pour cashew sauce over and stir until incorporated and warm. Garnish with green onion and enjoy!

processed_20191006_124746.jpg

*Cooking chickpeas from dry:

In the Instant Pot:

To cook the chickpeas in an Instant Pot, add 1 1/3 cups of dried chickpeas to the pot. Cover the chickpeas with water (in the small Instant Pot this is about 6 cups of water), season with 2 tbsp kosher salt, 2 tbsp turmeric, 2 bay leaf, and 1/4 tsp cayenne. Set the Instant Pot to pressure cook for 35 minutes letting depressurize naturally. Drain and rinse before adding to the dish.

On the stove:

If you don’t have an Instant Pot, you can easily cook chickpeas from scratch with a little planning. First you will need to soak the chickpeas which can be done one of two ways. 1. you can soak them overnight making sure they have enough water and space to double in size or 2. you can put them in a pot and bring to boil, then turn off the water and let soak for one hour. Again, make sure you have enough water and space that they can double in size.

Once you have soaked your beans, rinse them and then put in a pot with salty water. These will be cooking for about 2 hours so you don’t want as much salt as you would use for pasta, but you do want to add enough that you can taste the salt. The best way to get good at this is to practice. Each time you salt the water, taste it and when the beans are done taste them to see if they are well salted. A well salted bean should taste flavorful but not salty. If it tastes like you are eating salt, you added too much. If the bean lacks flavor then you didn’t have enough salt.

For this recipe, also add 1 tbsp turmeric, 1 bay leaf, and 1/4 tsp cayenne to the chickpeas as they cook. Cook the chickpeas until they are soft but not falling apart (this will take 1.5-2 hours). We recommend checking the beans at about an hour and then every 20 minutes until they are soft but not disintegrating. Make sure your pot has enough water as I have definitely cooked all the water off before and burnt the beans! This may seem like a lot of work, however once you get the hang of it the work is almost all passive and the reward is high: chickpeas cooked from scratch taste much better and are much cheaper!
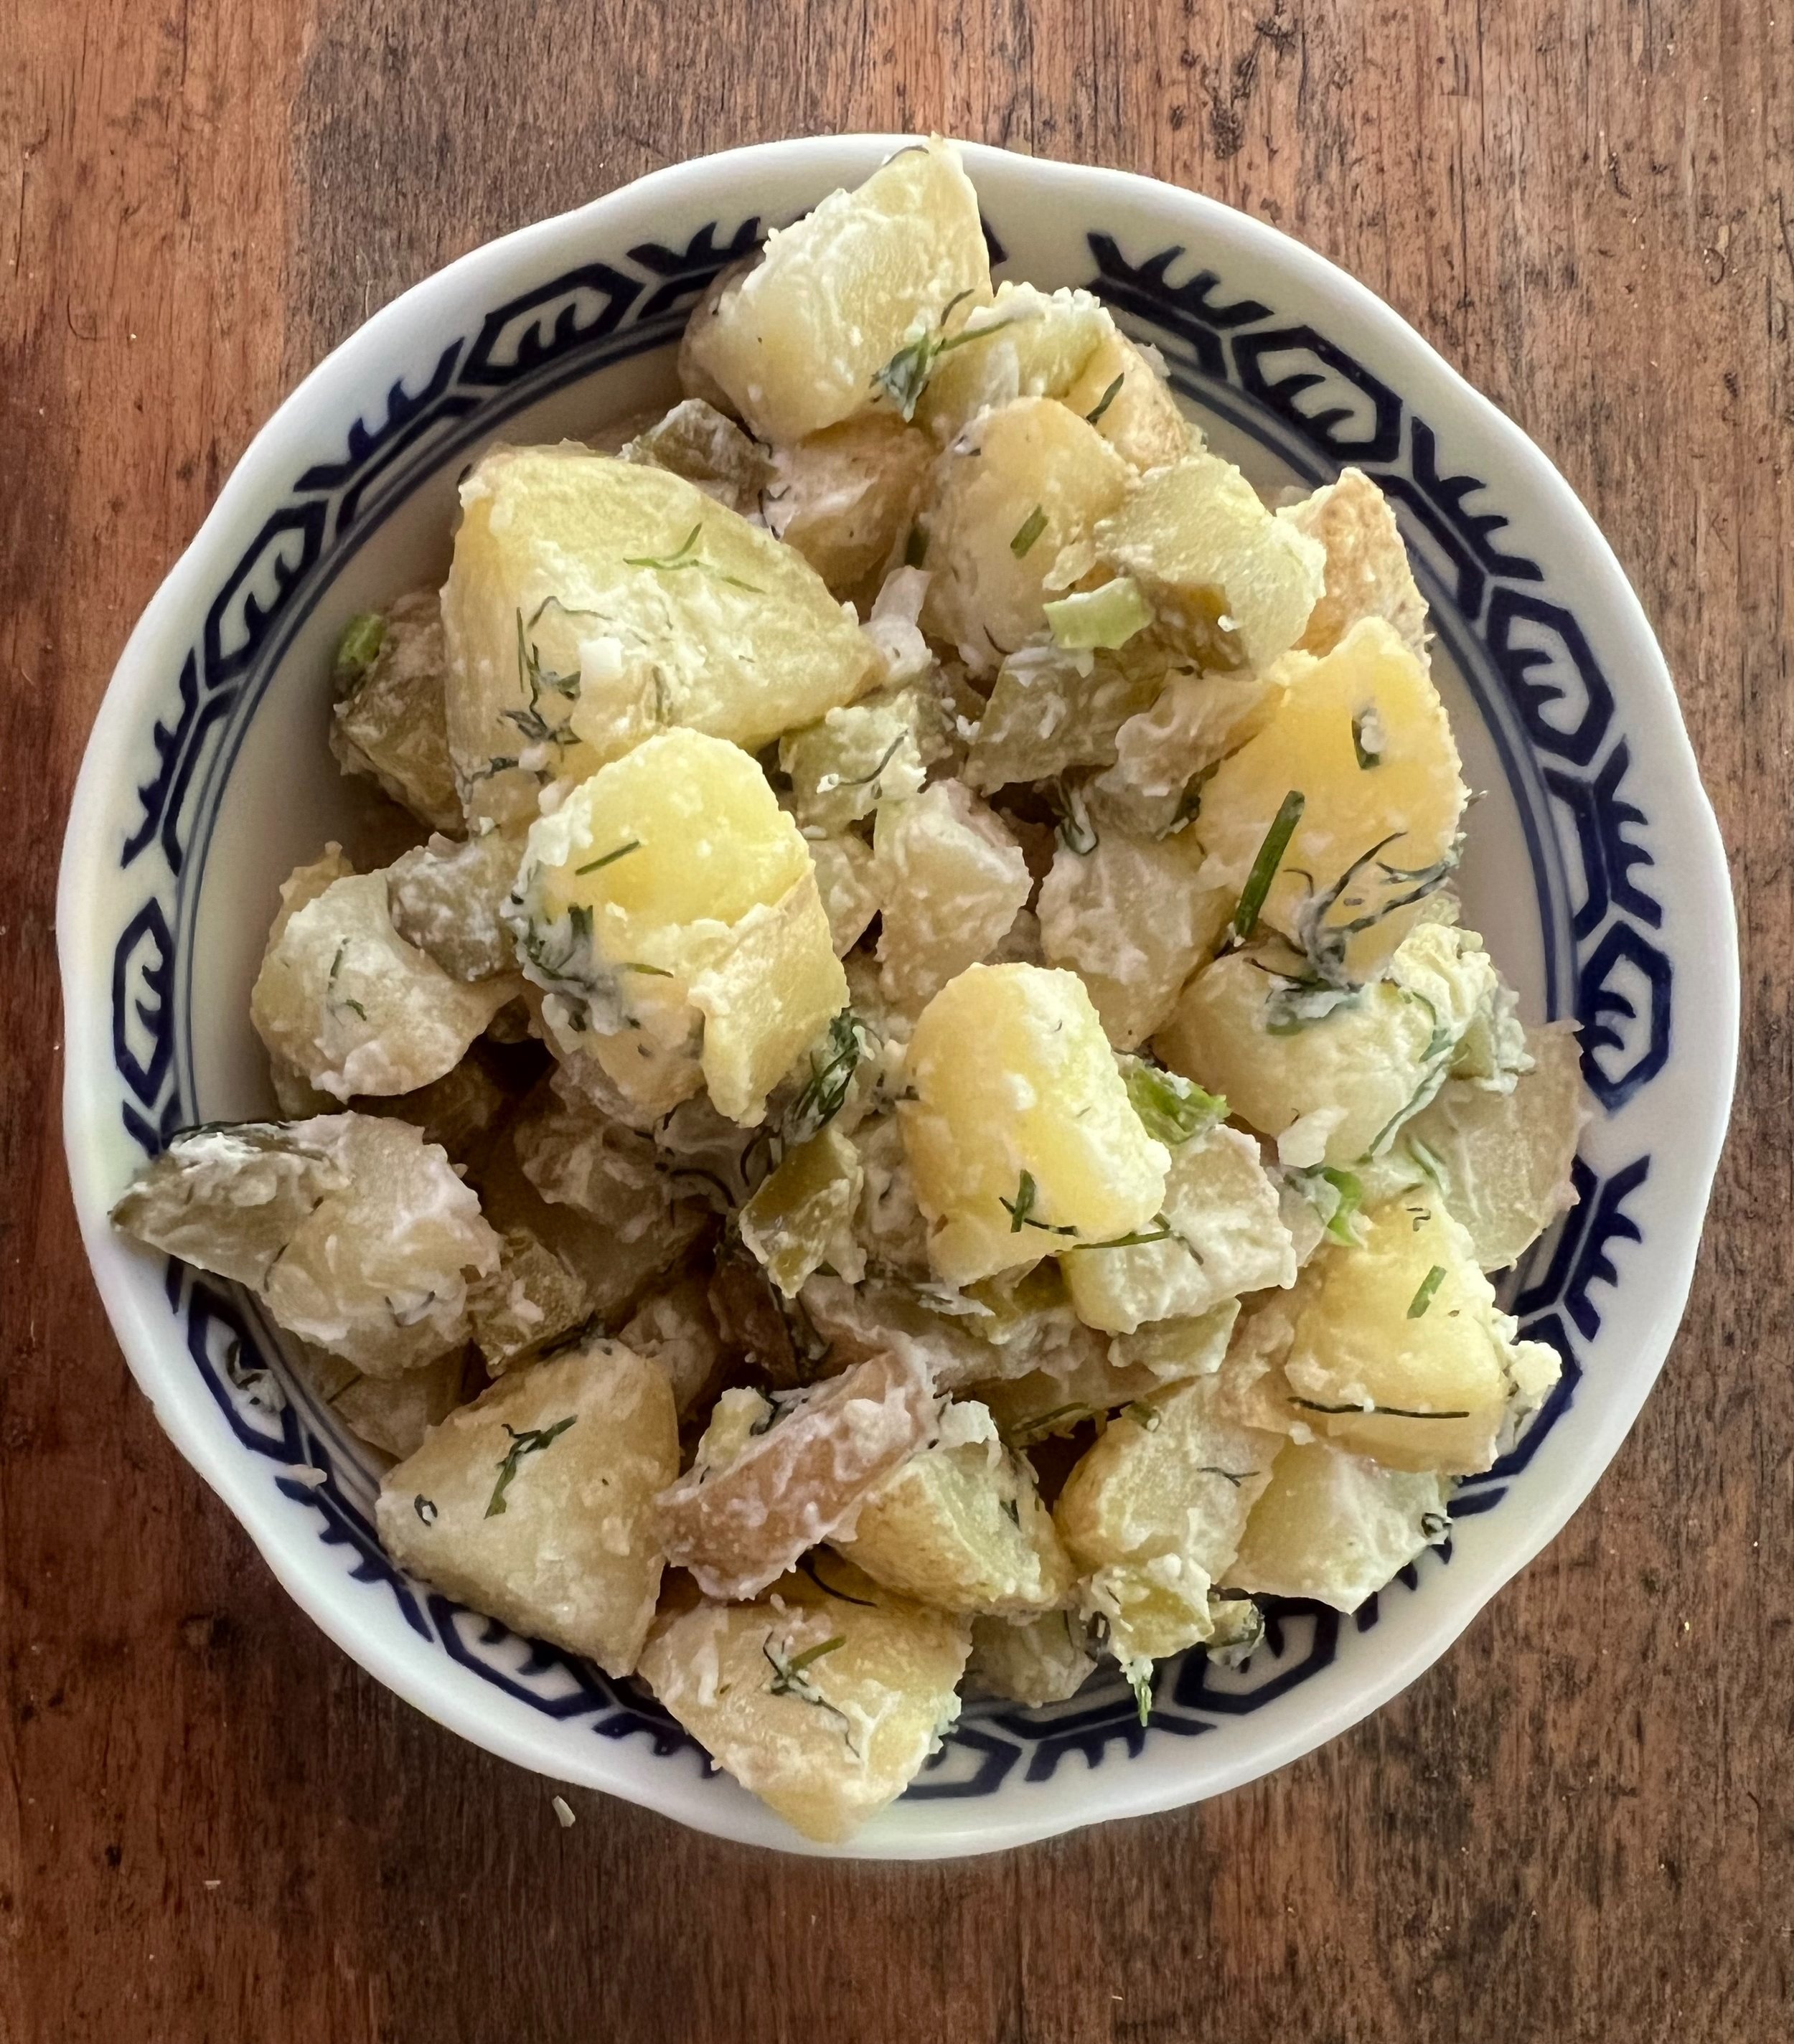
Quick Stir Fry

We all have nights when we have not planned for dinner and have not shopped for a particular meal. One of the benefits of cooking regularly is that there are often some veggies or a block of tofu in the fridge. This recipe was cooked on such a night and used various left-over veggies. For this reason, any of the ingredients can be subbed out for whatever is in your refrigerator.

processed_20191012_131838.jpg

Serves: 4

Time: 30min

Ingredients

1 cup rice

1 block tofu

1/4 cup corn starch

1 tsp salt, divided

1/2 onion, sliced

3 cloves garlic, minced

1 inch ginger, minced

1 bell pepper, sliced

3 carrots, thick julienned

1/4 purple cabbage, sliced

1 small head broccoli and stem, broken into florets and slice the stem

5 tbsp, divided neutral oil like avocado, sunflower, or canola

1 tbsp tamari (gluten-free soy sauce) or coconut aminos

For the sauce:

2 tbsp tamari (gluten-free soy sauce) or coconut aminos

1/2 tsp hot sauce

1 tsp agave


Cook rice with 1 tsp of salt, for a more flavorful rice, add 1 tsp veggie bouillon to the water. While rice is cooking, put the cornstarch and 1 tsp salt in a small bowl.

Cut your block of tofu in half so that you have two, one inch thick rectangles. Press tofu between two kitchen towels, placing a cast iron pan, or something heavy on them to remove some of the liquid. This process can be done with a tofu press. Slice the tofu into cubes or thick sticks. Toss tofu in cornstarch salt mixture. Heat 2 tbsp of neutral oil in a frying pan. Once hot, fry the tofu on med-high making sure it gets golden brown on all sides.

To make the sauce, mix tamari (gluten-free soy sauce), hot sauce, and agave in a small bowl. When the tofu looks done, pour this sauce over the tofu and toss until coated and then remove from heat and set tofu aside.

In the same pan, add 1 tbsp of oil and sautee the onion for 2 minutes. Add garlic and ginger, and sautee for another minute. Add bell peppers. Cook until onions are soft and starting to caramelize and the peppers are tender with some color. Set aside.

In the same pan (or you can use 2 pans and do this at the same time as the onions) fry the carrot, cabbage, and broccoli at a med-low heat with 2 tbsp of oil. Cook until carrots and broccoli are bright and cabbage is soft, stirring frequently. Combine all the vegetables and stir in the last 1 tbsp of tamari (gluten-free soy sauce) and serve over rice with tofu.